Tampa Bay homeowner guide
First-10-minutes timelineWhat to do when a pipe bursts
A burst pipe can cause fast water damage. If you can safely reach a known shutoff, reduce the flow; stay clear of water near electricity; document the visible damage; and arrange qualified help rather than attempting a permanent repair yourself.
On this page
The short answer
What to do first
For a suspected burst pipe, first leave any area with water near electricity, gas odor, structural movement, wastewater, or an unsafe route. If safe, use only a known private shutoff without force, call the appropriate plumber or building contact, document the visible condition, and begin damage mitigation only within the boundary given by emergency, utility, electrical, plumbing, restoration, and insurance professionals.
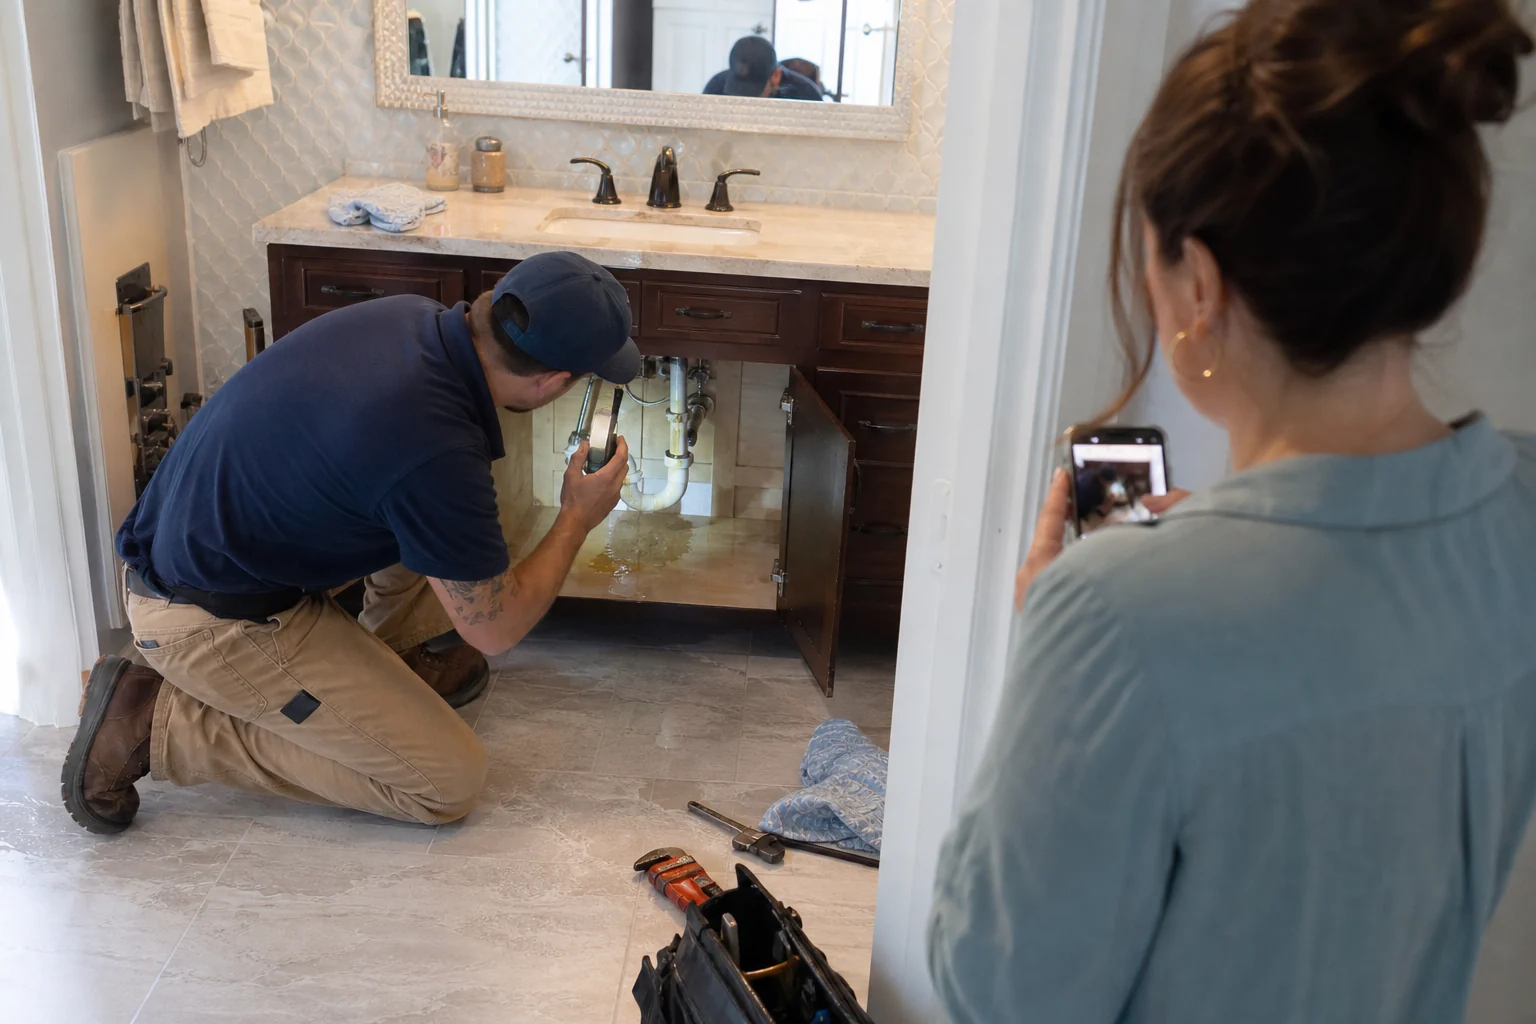
Five things to remember
- Safety hazards override the shutoff plan.
- Use a known private control—never a guessed meter, curb stop, shared, gas, fire, or well control.
- Photograph visible conditions before cleanup when safe.
- Separate stabilization, diagnosis, repair, drying, restoration, and insurance decisions.
- Ask for a written finding and a documented follow-up test.
Print the burst-pipe incident record
Record time, shutoff, hazards, contacts, damage photos, mitigation, written findings, and final repair.
A safe first-10-minutes timeline
Leave hazards
Move people and pets away from electricity, gas, structure, heat, wastewater, and falling material.
Stop flow only if safe
Use a familiar fixture or private main control without force; otherwise wait for the responsible responder.
Make the right calls
Contact 911, utility, building contact, plumber, or insurer based on the condition.
Document
Capture safe photos, video, time, affected areas, prior symptoms, and controls used.
Protect the record
Save mitigation instructions and do not discard failed components without agreement when a claim may apply.
Six separate decisions after a burst
Swipe sideways to see every column| Decision | Question | Typical record |
|---|---|---|
| Stabilization | Is flow and immediate danger controlled? | Responder instruction and shutoff status |
| Diagnosis | What component failed and what evidence supports it? | Written plumbing finding |
| Permanent repair | What scope, access, permit, and test are required? | Proposal, approval, permit, final test |
| Drying | What materials and moisture require mitigation? | Moisture map and drying log |
| Restoration | Who restores walls, cabinets, flooring, or contents? | Separate restoration scope |
| Coverage/responsibility | Which policy, contract, or governing document applies? | Notice, claim, decision, and correspondence |
Create an evidence packet without delaying safety
Scene
- Wide and close safe photos
- Time discovered and last known normal
- Rooms, fixtures, units, and contents affected
System
- Known control used
- Failed component if identified by a professional
- Prior symptoms, repairs, freezes, storms, or work
Response
- Every call and instruction
- Mitigation start and vendor
- Written diagnosis, repair, retest, and remaining limits
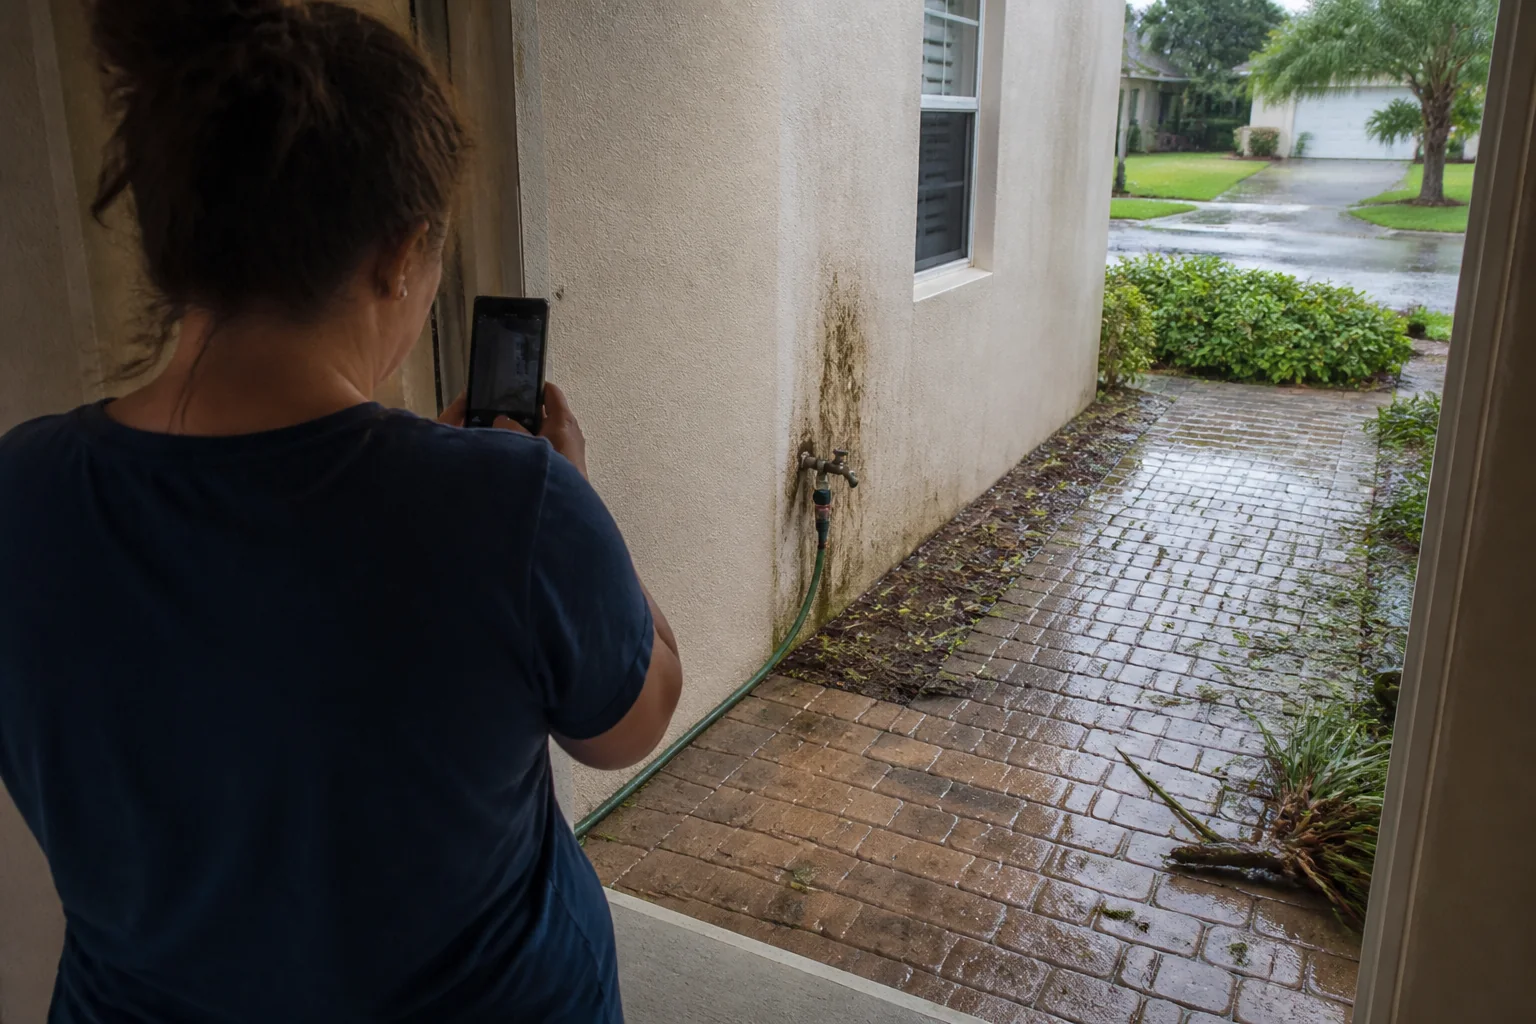
Property type changes the notification route
Plumber and insurer/mitigation as needed
Utility contact may still be required at the public boundary.
Notify association/manager immediately
Do not wait to settle final responsibility before reporting active damage.
Use the emergency lease/management contact
Record notice, access, and instructions; do not authorize beyond your authority.
Use the serving utility
Stay out of streets and utility equipment.
Define what 'finished' means
Completion may require the leak source repaired, affected plumbing tested, required inspection closed, moisture/drying addressed, access restored, records delivered, and the original fixture/system pattern checked again.
Related next steps
Use the guide that matches the situation.
How this resource was made
Methodology and limits
This timeline connects immediate household action to professional diagnosis, mitigation, documentation, and follow-up without encouraging unsafe repair work.
- The visible release may not reveal the failed component or full damage path.
- Insurance, building, and utility responsibilities vary.
- Emergency instructions from onsite responders control over this guide.
Sources
Reviewed sources
- FloodsReady.gov · Reviewed 8/27/2026
- FloodingU.S. Environmental Protection Agency · Reviewed 8/17/2026
- Sanitary Sewer OverflowsU.S. Environmental Protection Agency · Reviewed 8/17/2026
- Documenting Damage After a DisasterFederal Emergency Management Agency · Reviewed 8/27/2026
Reviewed by Plumbers in Tampa Bay on 8/27/2026.